Tuesday, November 25, 2014

Thrifted Lamp Makeover

I've been working on a few projects here and there over the last couple of weeks in our bedroom.  If you want to take a walk down memory lane to see how far we've come over the last couple years you can do so here.  I still remember the time it took to do the floors but I'm super happy I did it. 
 
Lets talk color.  The room is turquoise, white and brown.  I just can't let go of the wall color, we've had it in our last 2 bedrooms.  It reminds me of a Tiffany's box and what girl doesn't like that?!  But I've been thinking since the beginning that I need an accent color, it's gotten a little boring honestly.  SO, at last years Target black Friday sale I picked up this orange chevron body pillow case.  Its more marigold than orange, I guess.  You can see it on the bed here along with a great BEFORE picture of the lamps I just changed out.   
 
Thus far, it's been the only accent color piece in the room.  That all changed today though!  The lamps we've been using were a hand-me-down from my great grandparents to my grandparents to me a few years back.  As you can tell, the round part is this hideous glass grape stuff.  It used to be brown glass, I painted it right away and have recovered the shades a couple times. 
 
 
The shade's looking a little rough, I had already ripped off the old fabric and ribbon in this picture.  Only to find that I had covered over top of the last makeover.  I eventually got it down to the original shade and painted everything white.  Shades are interchangeable but the lamps themselves had to go.
 
I've been in search for some the last year or so but couldn't find a matching set for a price I liked.  I had succumbed to failure and went back to Salvation Army to pick up a lamp I had seen previously thinking a mis-match wasn't the end of the world and I found these babies.  Not just a match but on sale too!  Both for $20. 

 
They looked a little 80's but nothing a coat of paint wouldn't fix. 

 
I hadn't thought about older lamps and how the shades attach until I went to put them together but luckily, they were the same type of fixture.  Something to remember if you're going to try a project like this. 
 
I got to work taping off my newly stripped and freshly painted shades.  I just went for a random pattern creating different shapes to add interest. 

 
When I was done I used some paint that matched my pillow color to add another pop of color to the room.  I used standard craft paint in the color Marigold.  (how did you think I came up with such a descriptive color name above lol?)  Pull the tape and TA-DA! Do you love?  So excite! -yep I realize I shortened the word a bit.


Now what about a Before & After:
 
Thanks for following!
~Aleasha

Monday, January 27, 2014

Diamond Tufted Nailhead Headboard


WOW, its cold today.-5 degrees with a windchill of -17!  I'm super glad my car wouldn't start this morning for two reasons, I didn't have to take my kids out in this arctic freeze and I got to use today to finish a project that's been on my to-do list for over a year now. 

Let me start by saying that I love diamond tufting.  It might be a phase but it's a long one for me.  I would tuft my underwear if I could figure out how ha!

Materials for this project:

5ft x 4ft piece of plywood (for a queen bed)
3 yds 1" foam (27" wide)
2 yds 8oz batting (because it was 90" wide) 
staple gun and staples
hammer
jig saw
drill and drill bit
string
buttons
scissors
nail head upholstery trim
spray adhesive
fabric of your choice


First things first, cut the plywood.  I chose a portman design.  Who knew there were so many options?

 
The first thing you'll need to do is find the center point of your plywood, in this case 2 1/2 feet.  Measure 10 inches down from the center point and mark the spot. 
 
I used a simple piece of ribbon and a marker to make my circle.  I held the end of the ribbon on the mark and tied the other end to a marker.  From there I just traced around in a full circle. 


Draw a line the length of the board at the 10 inch mark (or wherever you decide to make, depending how large you want your circle).  For the corners i used a trash can lid and traced because it was faster and I had one handy.  But, you can always use your ribbon again, shorten the length and trace a quarter circle from the corners. 

Time to cut it out!  While it may be frigid cold today, yesterday was a whopping 35 degrees!  So I was comfortable in the garage.  I used a simple jig saw and cut around my marks


Easy peasy!  Don't mind our catch-all garage.  Its a giant mess. 
 
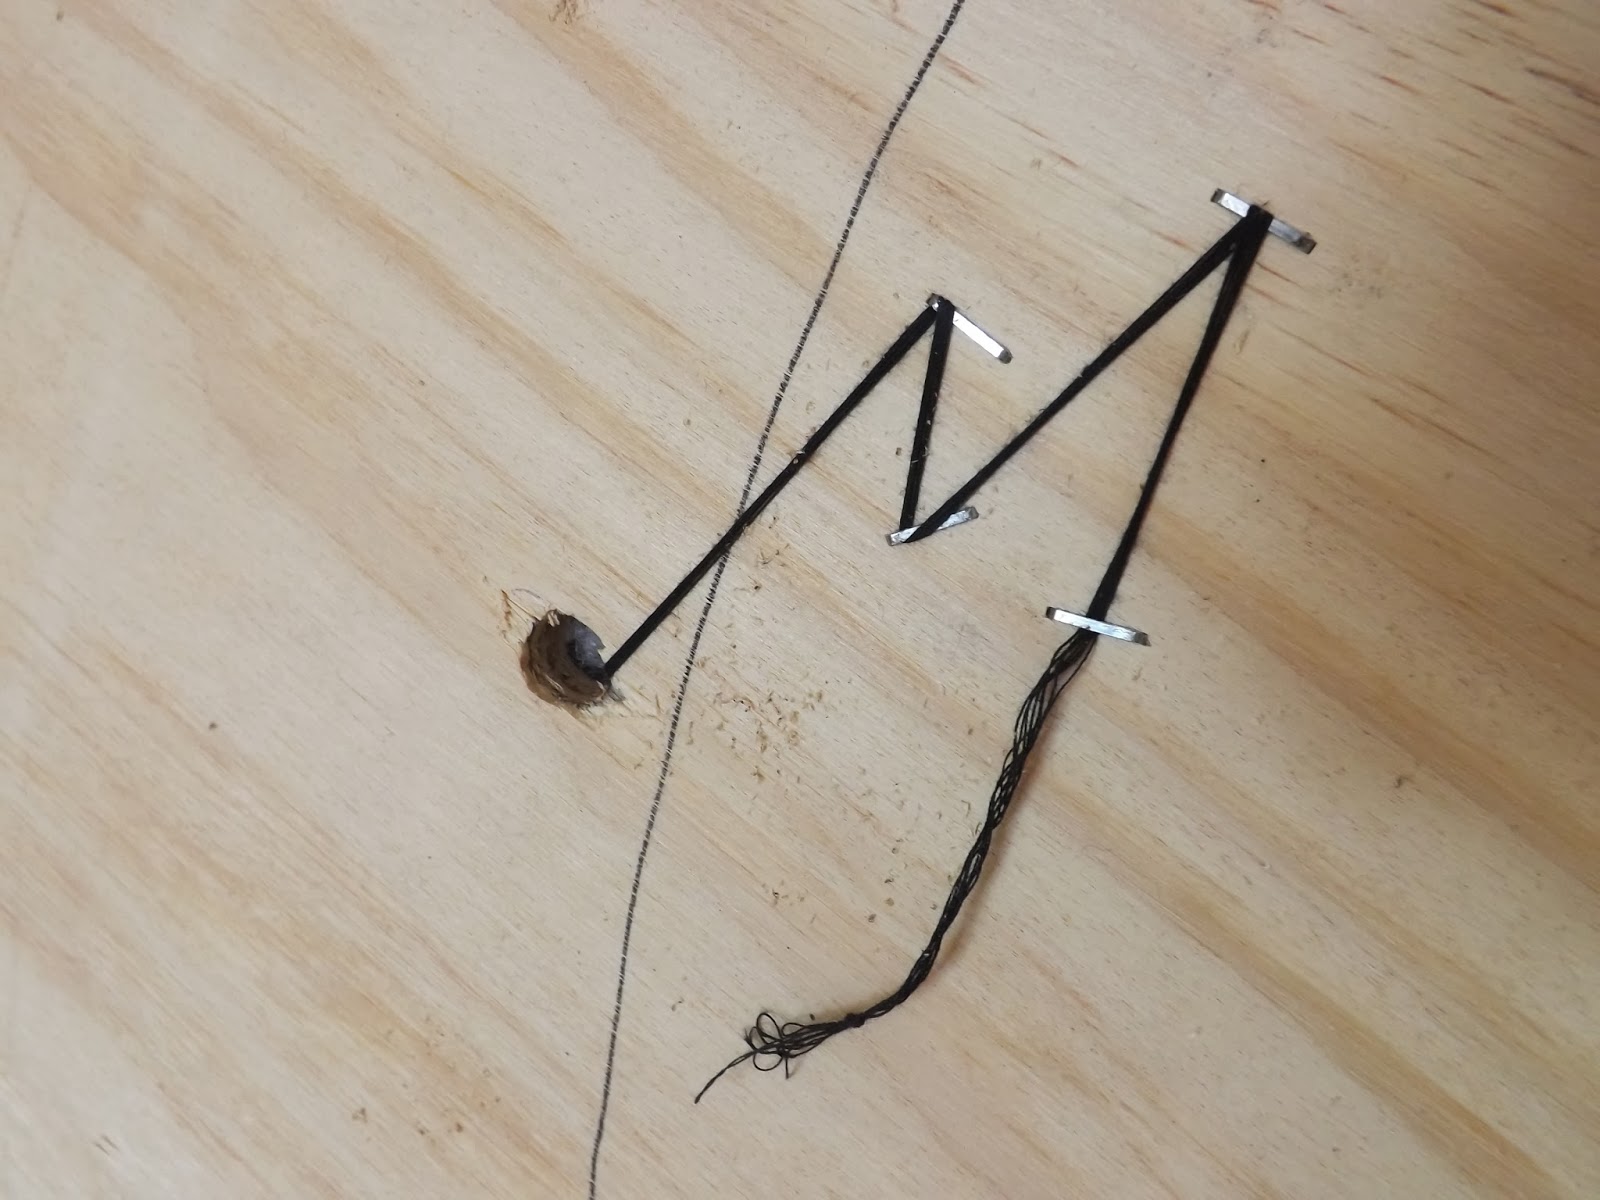
Now you'll need to figure out where you want the holes for the tufting.  I wanted to leave about 3 inches all around for my nail head, I marked that off first.  I chose to make a 6 inch grid by marking out 6 inches across and down, then drew vertical/horizontal lines at each mark.  This creates 6 inch squares and I marked the center point of each square.  After getting all this done, I realized I was going to have a LOT of button tufts, too many for my taste.  So, I ignored my grid all together opting to mark every other squares center point for my tufts.  Confused?  Here's a diagram.
 
Then, I asked my husband to help me out drilling the holes.  He's got longer arms, and better leverage for those center holes.


I constantly complain about how often I have to sweep and mop my dining room floor.  Yesterday, before I got the wild hair to start this project, I swept and mopped.  Then I did this:

 
Yep,  I brought it inside.  Insta-mess but oh well.  I threw the foam over the plywood and cut out the shape leaving the 3" gap I talked about earlier.  Then I  used some Elmers spray adhesive to secure the foam to the board.

 
Throw over the batting and cut off the excess. 
 *The batting will need to be the size of the entire board* 

 
Add your fabric on top of that. Cut around again, this time BIGGER than your board by 3-4 inches all around. 

 
Next I had my husband get under the "tent" as Tay-Tay called it and push up through each hole with a pen.  I was hovering over top and marked the point of the pen with a black dot on the fabric. 
 
Using a pair of scissors I carefully cut a tiny "x" at each dot.  Too big and your buttons will slip right through.  Then I lifted the fabric at each dot and cut through the foam and batting below until I could feel the holes underneath.  This part stinks-your hands will be sore. 
 
Now you can start with your buttons.  I tripled up standard sewing string in 18 inch lengths.  I fed the string through one side of my button and back down through the other then tied the ends into a knot.  I used a drill bit to push the knotted end of the string through each hole but you can use whatever works for you.  You can get really long upholstery needles for this purpose but at $13.99 each I decided to improvise.  :)
 
When your buttons are all in you can start to secure them.  You'll want to work from the middle out wards alternating lines.  Do one line across, skip the row below and then do the next row from the inside out.  When you get those all done go back in to do the centers, this will give it the best "diamond" appearance.  if you work one way row by row the tufts will be too tight and won't show any crease. 
 
To secure a button pull the strings tight, you might need someone to push/hold the button on the opposite side.  Staple the string 3-4 times alternating direction and for added strength use a hammer to pound the staples into the board.  This makes sure the buttons don't get loose. 


When you're done with this you'll start to pull the fabric around the edges.  Start at the top and work your way down tugging and securing every 3 inches or so.  you may need to cut strips around the curved edges to get a smooth finish.  Corners are tricky but pulling and securing short strips around the corners give you a snug fit. 


The last step is to add the nail head trim.  I am SOOOO glad I found this product or I might have been nailing until next winter. 


It's basically a long strand of trim and every 5th head has a hole that you hammer a tack through.  This stuff was only $22 and the boxes of individual tacks would have cost me $32 PLUS 1000 hours and a huge headache.
 
I simply ran the bead along the edge of the headboard securing it as I went.  This stuff is bendable too so I used one long strand on the whole headboard and twisted it off at the end.
 
 
It was amazingly simple, and BEAUTIFUL!
 
Here she is all done, I was tickled :D
 
I will admit in the following pictures its not really secured to the wall because I leave that kind of stuff to Evan.  But I just couldn't wait!


Here's the breakdown:
Batting, foam, nail head trim, buttons=$62
(the lady at JoAnn's gave me 50% coupons for all my items)
Hanging kit=$4.97
Fabric=Free, I had it from another project
Plywood=Free, also had it left over
Spray Adhesive=Free, I do a lot of crafting
Everything else=Free, we have all of the tools laying around
 
Total Cost=$66.97
 

+ the added bonus of two friendly helpers!


Is that awesome or what?  It just MAKES the room. 
 
WHAT will I finish next?  The wheels are already turning...
 
~Aleasha


Sunday, January 19, 2014

DIY Hand painted wall decal

WOW!  It's been a while.  Almost a year by my count, not that I haven't been busy.  I DO have a new project for you tonight, completed in about 3 hours btw, but first lets get a glimpse of whats been happening around the Smock household.  So there's this:


Yep-You guessed it, we got pregnant!  This is me summer 2012 sanding a dresser drawer in the garage.  

Taylor Rae graduated Kindergarten...this is right before she put on her cap and gown for the ceremony.
and her with her para-professional "Murphy".  


Fast forward through summer...first day for 1st Grade.
and about a month later on Sept 7th...Hayden Michael Smock-
Born at home! (he was 5 mins old at this point)
A few hours...

Day two, big sissy LOVES him!


These last four, 1 week old.  

1 month, first smiles

Taylor Rae, being a fabulous big sissy

SO Alert!

Taylor carving her first pumpkin alone.

Hayden sleeping in his bed alone for the first time.
Then his first time in the jumper.  
Lots of weekend fun with Auntie

Dada teaching him to "ride the puppy"  Mush puppy, mush!


Our tree this year

and of course a cute Christmas sweater!
Opening presents with Grandpa...

Nana Shanna...

Toledo the goose!

can't forget Auntie! (Taylor LOVES that guitar, music 24/7 in our house!)


Lots and lots of morning snuggles in moms bed.  

YEP-thats what I've been up to in a nutshell.  Now I get to share the extra stuff I've been doing!
Starting with today.

Taylor got on this Dora the Explorer kick, a blessing and a curse-at the same time.  So she was doing that after begging all morning and Hayden FINALLY fell asleep (for like 20 minutes but still-it was long enough for me to get stuck in the start of this project).  

I saw this quote on FB a while back...i feel like a lot of bad things start there...either way, this was positive for a change.  A fantastic quote "The happiest people dont have the best of everything, they make the best of everything they have."  There are days that I REALLY hold onto this quote.

I feel like, how perfect is this?  We definitely dont have all the newest greatest things, but we're still happy, because we try to see the bright side of things.  I see these pictures in magazines and think "man, i cant wait 'till i can afford THAT stuff to decorate my home".  
But really?  Even if I could buy it i'd rather find a way to DIY it.  How many people do you know that can just fly through money like that?  Not many for me.  So I DIY almost everything I want, because it fits our life better, and I dont have to feel bad about having beautiful things if they cost next to nothing.  

I decided this needed to be a statement somewhere in our home.  I chose the dining room.  It's where we eat together and when my kids are old enough to read I want them to see this each night at dinner time. 

This is pretty basic, I typed up the phrase in a word document and picked out a font I liked.  Then I enlarged it and switched the orientation to landscape and hit print.  
I got out my white acrylic paint and a small brush.  Then I traced the words onto a clear page protector using a sharpie. 

Then I put that baby up on my overhead projector and enlarged the image onto my wall.  Turned off the lights and started to paint over the image.  Here it is after the first line was done. 


When the second line was complete I hung a couple floating shelves and threw up some accessories.  We've lived her over a year and this is these are the first things to go up on the wall!  I can't quit looking at it :)

Some greens from the wedding, a picture of my sister and I, a small water basin and tray that my great grandma Irene Jackson made (by hand-the lady was super talented) and some other nick nacks including a cute garage sale milk glass dish with some dried rose buds from a bouquet the hubby got me recently.  

There it is guys!  Don't waste your money buying those expensive (but cheap looking) decals, just DIY!  You can personalize any saying and it's super easy.  

Over and out....
Aleasha